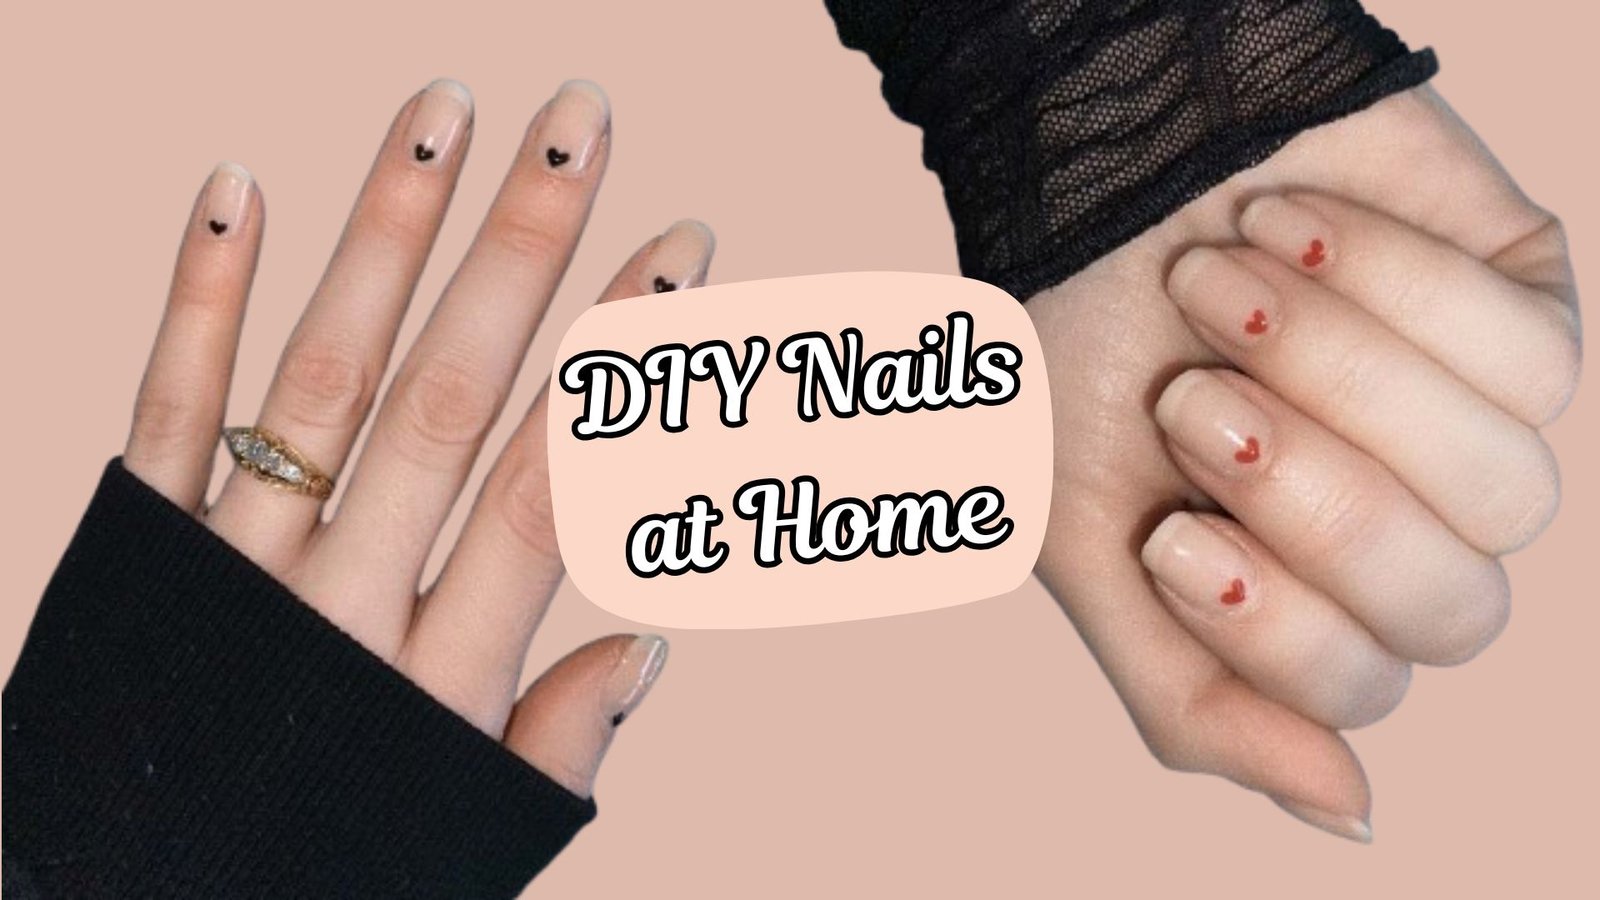
Making your own DIY nails at home will save money and will be fun as well. Good practice will give you a nearly perfect manicure at home with the right tools, patience, and some time. Not only do DIY nails look cool when done, but they can also be hands-on fun. You can try out new colors, designs, patterns, and styles to be just right for your personality. If you like simple nails or fancy nail art, getting the skills to create DIY nails at home yourself can provide salon-quality results whenever you’d like!
Why DIY Nails at Home is a Great Idea
DIY nails at home can be one of the most enjoyable ways to save money and have fun pampering yourself. While a trip to the salon might be an expensive affair, you can easily have fabulous stroll-worthy DIY nails at home without indulging in the right tools. Also, there’s no long wait for appointments or getting out of bed to enjoy that awesome nail manicure at home.
Making your own nails look beautiful can be a fantastic option to show your imagination. Try various colors, new styles, and even fashionable nail artwork. If you are doing the DIY nails at home at home, you are able to pick and choose according to how you want.
One of the many advantages of DIY nails at home is that they also allow you to care for your nails. Take a good time caring for your nails, using quality products with no harmful chemicals. So you will know that your nails are strong and beautiful anytime.
Step-by-Step Guide to a Perfect DIY Manicure
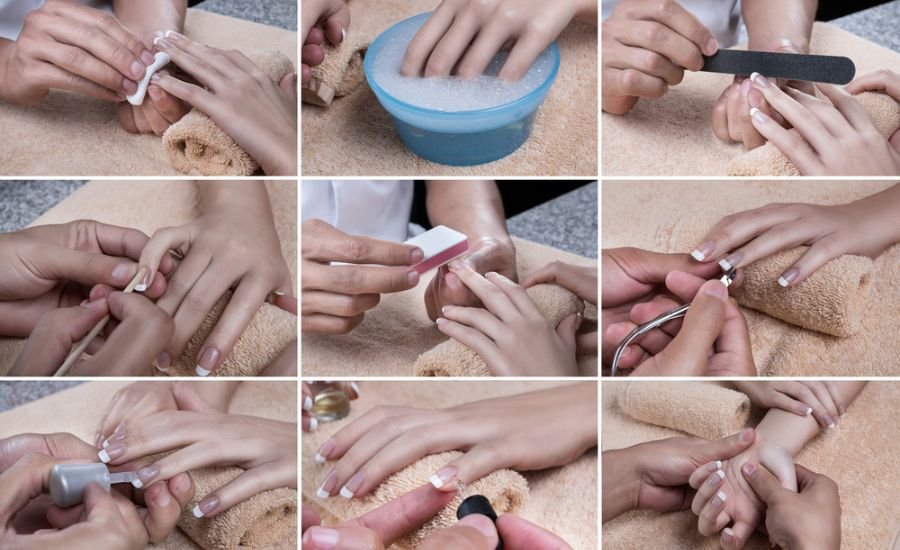
Follow these simple steps and have beautiful DIY nails at home spa-style way.
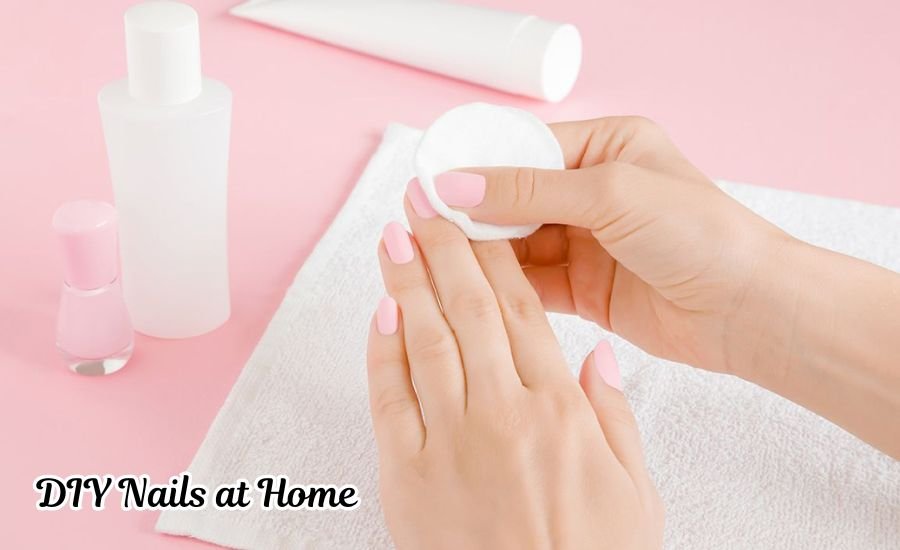
Step 1: Gather Your Nail Tools
Before you begin, gather every tool you’ll need. It is necessary to:
- Remove polish from nails and cotton pads
- Nail clippers, as well as nail files
- A buffer for smoothing the surface of nails
- Cuticle pusher as well as cuticle oil
- Nail polish, base coat as well as top coat
Step 2: Clean Your Nails
Remove the old polish using nail polish remover. Wipe your fingernails clean with a cloth to get rid of dirt and grime, even if the polish has not been applied yet. Wash your hands with soap and water, and then thoroughly dry the nails.
Step 3: Trim, File, and Buff
Nail clippers are used to cut the nails according to the length desired. After that, the final shaping, whether square, round, or almond, is done with a file. Smoothen the surface of the nail to smoothen ridges. This will create the perfect foundation for polish.
Step 4: Push Back Cuticles
Then, apply some oil to the cuticles and allow them to sit for a minute. Use an instrument to gently push your cuticles back. Be careful not to cut them since they shield your nails from the bacteria.
Step 5: Apply Base Coat
A base coat is applied to the nails to protect them and keep the polish on longer. A very thin first layer is left to dry for one minute before the next step.
Step 6: Apply the First Coat of Nail Polish
Pick your preferred nail polish and apply a small coat. Beginning in the center, work your way to the edges. Please make sure the layer is thin so it can dry quicker and avoid smudging.
Step 7: Wait for the First Coat to Dry
Allow the initial coat to dry for approximately 2 minutes prior to applying the next coat. It prevents streaks and bubbles appearance while applying the polish.
Step 8: Apply the Second Coat of Nail Polish
Add another coat of nail polish to get the full coverage. The lighter colors might require an additional coat. However, do not wait too long between coats to get the most beautiful result.
Step 9: Apply a Top Coat and seal by applying an Over Coat
A top coat can add shine and help prevent chipping. Apply a thin coating and ensure that you cover your nail’s tip to ensure that the polish is secured.
Step 10: Clean the Edges
Use a cotton swab or small brush in polish remover, then scrub the polish off the skin. The result is a manicure that looks clean and professional.
Step 11: Let Your Nails Dry Completely
It is important to keep the dried nails for a minimum of 10 to 15 minutes. Please do not touch your nails during this period to prevent them from getting smudged.
You will now be able to perfect your DIY manicure right at your home! Enjoy your beautiful DIY nails at home!
Choosing the Best Nail Polish for DIY Nails at Home
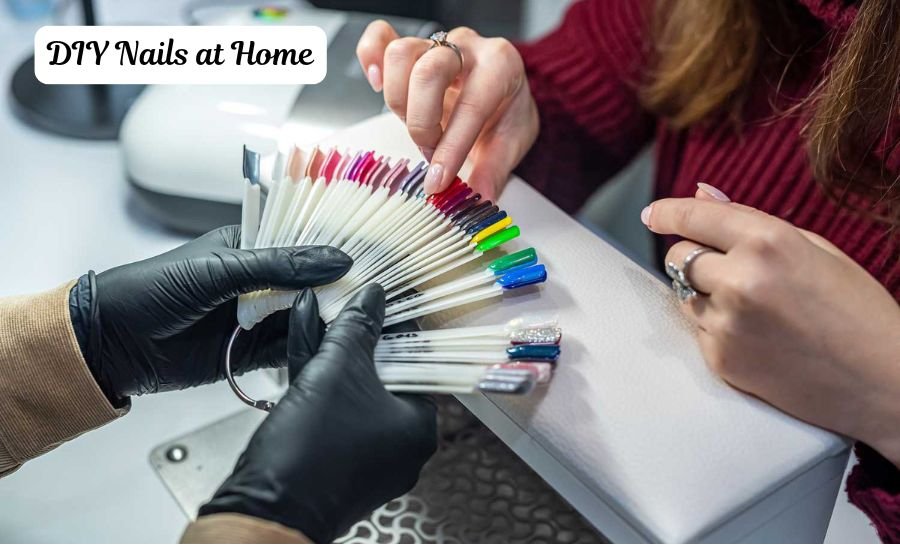
Well-selected nail polish is important for an excellent nail makeover at home. Certain nail polishes dry more quickly and will last longer, and are not damaged. Select brands with high-end qualities with smooth, easy application and vibrant hues.
Top Nail Polish Brands to Try:
- OPI: Long-lasting, rich in shade
- Essie: The smooth, creamy application is combined with stylish shades
- Sally Hansen: Quick-dry and resistant to chip formulas
- Zoya Vegan: is free of toxic chemical
- Revlon: Affordable and excellent quality
- Beetles Gel Polish: Best for long-lasting gel manicures
The right nail polish can make an enormous difference to your nail art at your home. Select a nail polish that fits your personal style, and then enjoy gorgeous DIY nails at home!
Easy Nail Art Ideas to Try at Home
Here are a few easy and fashionable DIY nails at home that you could test:
Polka Dots: Make use of the dotting tool or toothpick to create cute dots.
Stripes: Use thin tape to make diagonal or straight lines.
Glitter Nails: Add glitter to the top coat to create a sparkling effect.
Ombre Nails: Mix two shades to create an aged look.
Marble Design: Mix two polishes in a row to give an effect like marble.
Flower Patterns: Make use of a small brush to paint delicate flowers.
French Tips that Have a Twist: Give glitter or colored French tips.
Animal Prints: Design patterns of leopards or zebras for an eye-catching appearance.
Galaxy Nails: Use dark colors and glitter to create the illusion of space.
Matte Finish Matte Finish: Apply a matte finish top coat to achieve a silky, modern, contemporary style.
With these simple designs, your DIY nails at home can be stylish and creative!
How to Fix Common Nail Mistakes at Home
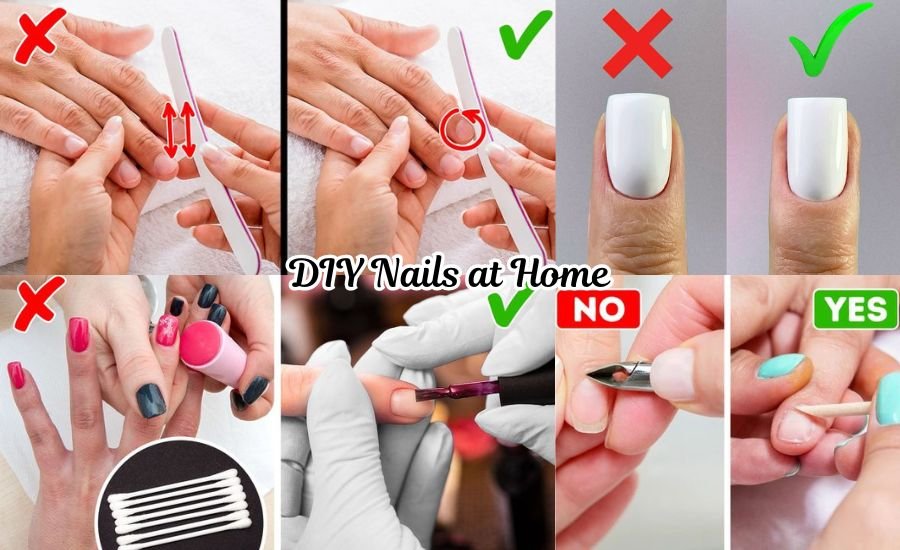
Smudged nails can be a pain. However, they’re also easy to repair. If you’re not sure, you’ve got to dip your brush into a polish remover and scrub the edges carefully.
If the polish is bubbling in the bottle, it could be dense. Use thin layers, and do not shake the bottle prior to applying. The rolling process of it in your fingers is the best method of mixing the polish.
To fix chipped polish, put small amounts of polish on the damaged area, then finish it off by applying a top coat. This easy fix can make to make your DIY nails at home appear fresher without having to redo the entire manicure.
Get More Information: DIY Home Decor
DIY Gel Nails at Home: A Beginner’s Guide
Gel nails last longer, are glossy, and don’t chip. This is how to make the perfect diy gel manicure. Step-by-step.
Step-by-Step Guide for Gel Nails at Home
Gather Your Tools
- Gel base coat, gel nail polish, and gel top coat.
- Lamps with LED or UV to cure.
- Nail file buffer cuticle pusher and polish removal.
- Rub alcohol on the skin and wipe with lint-free cloths to get rid of the sticky remnants.
Prepare Your Nails
- Get rid of old nail polish.
- File, trim, and cut your nails into the shape they are.
- Removing your cuticles will smooth the nail surface.
- Make sure your nails are clean by rubbing alcohol in order to eliminate any oil.
Apply the Gel Base Coat
- Spread a thin base coat with gel on every nail.
- It is then cured under the LED or UV lamp for 30-60 seconds (follow instructions for polishing).
Apply the Gel Polish
- Apply a thin coat of gel polish over every nail.
- Put the lamp in the room for 30-60 minutes.
- Continue with another thin layer and let it cure.
- Apply a second coat if you require a more intense hue.
Then seal the area with a Gel Top Coat
- Use a light layer of gel top coat to make sure the color is sealed.
- Then, under the light, you can cure for 60 seconds to make sure you have an even end.
Remove Sticky Residue
- Certain polishes with gel leave behind an untacky layer when they cure.
- Make use of a wipe that is lint-free and ruby alcohol to get rid of the sticky layer.
Moisturize and Finish
- Use cuticle oil to keep the skin and nails well taken care of.
- You can enjoy salon-style gel nails in the comfort of your home!
Using this simple DIY gel extension technique, you can give yourself a set of salon-quality nails without the expense of visiting a salon.
Best Nail Care Tips for Healthy and Strong Nails
Healthy nails require proper maintenance each day. The moisture you give your cuticles and hands helps keep your nails from drying and hard.
Consuming a healthy diet rich in nutrients like biotin can help the nails to grow stronger. Drinking enough water helps keep nails from breaking easily.
Don’t use your nails to break things open or scratch the surface. Gentleness with your DIY nails at home will help them remain sturdy and help prevent breakage.
How to Remove Nail Polish Without Damaging Your Nails
Utilizing the correct polish remover will keep your DIY nails at home in great shape. Acetone is fast-acting, but it can dry nails. Therefore, non-acetone polish removers are a better alternative.
Make a ball of cotton with remover, and then press it onto the nail for several seconds prior to wiping. This will help remove polish fast without over-rubbing.
To apply gel nails, you can wrap each nail with an absorbent cotton ball and cover it with a remover. Cover with foil. Allow it to sit for 10 minutes before gently removing the polish.
Conclusion
Making DIY nails at home is an enjoyable and straightforward method to achieve stunning nails with no dollars. With the right tools, it is possible to create flawless manicures at any time. It is possible to experiment with different colors, exciting designs, or even durable manicures with gel. Besides, caring for your DIY nails at home keeps them healthy and strong.
There are just a few steps to ensure your manicure lasts longer, and you can easily fix little mistakes. No matter, if you prefer simple nails or contemporary nail art, creating your own DIY nails at home, can allow you to explore your creativity.
Stay Connected with Better Home Crafts!
FAQs
Q: What’s the most effective method to get rid of the gel nail at your home?
A: Soak a small cotton ball with nail polish remover. Please put it on your nail, then wrap it in foil. For 10 minutes, gently pull off the polish.
Q: Why does my nail polish start to bubble?
A: Bubbles can occur if the polish is too heavy or shaken prior to use. Apply thin layers, then rub the bottle in your fingers instead of shaking it.
Q: What is the best frequency at which to apply nail polish?
A: All day! Applying cuticle oil or hand creams keeps your skin and nails well-nourished and soft.
Q: Is it possible to do DIY nails at home with no special tools?
A: Yes! Some toothpicks can be used as dots, tape for straight lines, and sponges for creating ombre patterns.